

Adding multiple sponsor logos to jerseys is a balancing act between showcasing sponsors and maintaining a clean, professional look. Here’s how to get it right:
- Prioritize Placement: Prime spots like the front chest go to main sponsors. Secondary sponsors can be placed on sleeves, back, or shorts.
- Follow League Rules: Check size, placement, and logo limits to ensure compliance.
- Use High-Quality Files: Request vector formats (AI, EPS, or SVG) for sharp, clear logos.
- Balance Design: Avoid overcrowding. Limit to 3–5 logos per jersey and ensure consistent spacing.
- Choose Sublimation Printing: This method embeds logos into the fabric, ensuring durability and vibrant colors.
- Test Designs: Use mockups to preview logo placement and adjust for readability and spacing.
- Communicate with Sponsors: Share designs for feedback and approval to avoid last-minute changes.
Proper planning, clear communication, and quality materials ensure sponsor logos enhance, rather than detract from, your team’s jerseys.
Create Perfect Football Shirt Sponsors – Step-by-Step Guide!
Logo Placement Rules for Sports Jerseys
Sponsor logo placement on sports jerseys follows specific league standards, ensuring a consistent and professional appearance across teams. Over the years, these rules have helped balance team branding with sponsor visibility.
Placement Guidelines by Sport Type
In basketball, the primary sponsor logo typically sits on the front center chest, either above or below the player’s number. Secondary sponsors are placed on the upper chest, opposite the team logo, while additional logos may appear on the sleeves or shorts. For instance, NBA jerseys often feature small sponsor patches on the upper left chest.
Soccer jerseys prioritize the center chest for the primary sponsor logo, maximizing visibility during games and broadcasts. Secondary sponsor logos are commonly placed on the back of the jersey – either above or below the player’s name – or on the sleeves. Major League Soccer (MLS) teams follow this approach to maintain a balanced and visually appealing design.
Baseball jerseys reserve the left chest area for primary sponsor logos, keeping team branding and player details as focal points. Additional sponsor logos are placed on the sleeves, ensuring visibility without disrupting the classic look of the uniform.
Across all sports, the back of the jersey is another valuable area for logos, particularly above or below player names and numbers, offering prime real estate for secondary sponsors.
Size and Number Limits
To prevent jerseys from looking cluttered, leagues enforce strict size and placement limits for sponsor logos. In basketball, sponsor patches are typically around 2.75 inches by 1.5 inches, and teams are allowed 3 to 5 logos per jersey. Soccer and baseball leagues follow similar principles, though size restrictions vary. Sponsor logos must never overshadow team branding or interfere with the readability of player names and numbers. Teams should confirm these guidelines with their league’s governing body, as rules can differ across competition levels.
Balancing Team Branding with Sponsor Visibility
A well-designed jersey strikes a balance between showcasing the team’s identity and meeting sponsor needs. This involves carefully considering color contrast and visual hierarchy so that sponsor logos enhance, rather than compete with, the team’s colors and emblem.
Sublimation printing is a popular technique for seamlessly integrating logos, offering vibrant and durable results. Teams often prioritize sponsor placement based on the level of financial contribution. For example, prime spots like the front chest are reserved for major sponsors, while smaller logos are placed on sleeves or shorts. This approach ensures the uniform remains cohesive and visually appealing.
| Sport | Primary Logo Placement | Secondary Logo Placement | Typical Size Limit | Max Logos Allowed |
|---|---|---|---|---|
| Basketball | Front center chest, above/below number | Upper chest, sleeves, shorts | 2.75" x 1.5" (varies) | 3–5 |
| Soccer | Center chest, left chest | Back, sleeves | League-specific | 3–5 |
| Baseball | Left chest | Sleeves | League-specific | 3–5 |
The ultimate goal is to design jerseys that look polished and cohesive, avoiding the appearance of a "walking billboard." When done thoughtfully, sponsor logos can enhance the team’s overall visual identity while providing essential funding – without compromising the uniform’s design integrity.
Design Rules for Multiple Logo Placement
When designing a jersey with multiple sponsor logos, the challenge lies in balancing team branding with sponsor visibility. A thoughtful approach to logo hierarchy can ensure a professional design that satisfies all stakeholders.
Setting Logo Priority and Order
The most prominent placement on a jersey should go to primary sponsors. The front chest area is prime real estate for visibility and is typically reserved for top-tier sponsors. Secondary sponsors can be strategically placed on the sleeves, upper chest, or the back of the jersey above player names. To ensure fair exposure, consider rotating secondary logos across different jerseys. The prominence of a sponsor’s logo often correlates with their contribution level, with higher contributions earning more visible placements.
Once the hierarchy is set, focus on refining the design with careful attention to color contrast and spacing.
Using Color Contrast and Spacing
Color contrast plays a critical role in making logos pop. For example, dark logos stand out against light-colored jerseys, while light logos are more visible on darker backgrounds. If the jersey features multiple colors, test each logo in various sections to find the best placement for clarity and visibility.
Spacing is equally important. Ensure consistent and sufficient spacing between logos and other jersey elements. For instance, a white logo on a light-colored jersey might require an outline or background treatment to maintain visibility. Collaborate with sponsors to create logo variations that align with your team’s colors while preserving their brand identity.
Adjust spacing based on logo size – larger logos need more breathing room, while smaller logos should be positioned carefully to avoid a cluttered look.
Testing Designs with Digital Previews
Before finalizing the design, use digital mockups to spot potential issues. Full-scale templates can help you visualize how logos will appear on the actual jersey, allowing you to address concerns with spacing, color balance, or legibility early on.
Test the design from different distances to ensure logos remain clear and impactful. A logo that looks great up close may lose its effect from farther away. Printing test samples with the actual jersey colors can also help confirm accuracy, as screen displays often differ from printed results.
Finally, share these digital previews with sponsors to gather their feedback. Offering multiple design variations can provide flexibility, as even minor tweaks in logo placement can significantly improve the overall jersey design.
Step-by-Step Process for Adding Multiple Sponsor Logos
Follow these steps to seamlessly integrate sponsor logos into your jersey design while keeping all stakeholders aligned and satisfied.
Collecting Sponsor Logo Files and Requirements
The first step in creating a polished multi-sponsor jersey is gathering the necessary materials from each sponsor. Start by requesting vector logo files – formats like AI, EPS, or SVG are ideal because they maintain sharp quality at any size and avoid pixelation during printing. These files are essential for professional production.
In addition to logos, ask for each sponsor’s brand guidelines. These typically include color codes, minimum size requirements, and rules on logo usage. Some sponsors may insist on full-color logos, while others might permit single-color versions that better complement your jersey design.
To stay organized, use a spreadsheet to track each sponsor’s requirements, preferred placement, and contribution level. This will help you prioritize logos and avoid confusion later. Make sure to note whether sponsors have provided high-resolution files suitable for printing and follow up with those who haven’t. Keeping these details in order ensures a smoother design process.
Placing Logos on Jersey Layout
Once you’ve gathered all the materials, it’s time to start mapping out the jersey layout. Begin by identifying the most visible areas of the jersey. The front chest is prime real estate for your primary sponsor, while other areas – like sleeves, the upper back, and lower front – are better suited for secondary sponsors.
When placing logos, ensure they are at least 1 inch away from seams and hems to prevent distortion caused by stretching or movement during gameplay. Seams can interfere with the appearance of logos, making them look warped or cut off.
Work systematically, starting with the highest-priority sponsor, and then add secondary logos. Keep in mind how the jersey will look during action – logos placed too low on the front might be hidden by shorts or equipment, while logos on sleeves may require extra spacing to stay legible.
To avoid surprises, test your arrangements using full-size templates. This allows you to spot any spacing or alignment issues before finalizing the design.
Getting Final Design Approval
After arranging the logos, the next step is securing approvals to ensure the design meets everyone’s expectations. Begin by creating high-resolution mockups that show how each logo will look on the finished jersey. Include front, back, and side views to provide a complete picture of the design.
Share these mockups with each sponsor individually, highlighting their logo’s placement. Request written approval and set a clear deadline – typically 5–7 business days – for feedback. This keeps the project moving forward.
At the same time, present the full design to your team management for their approval. They’ll need to confirm that the overall aesthetic aligns with the team’s branding. Address any concerns from sponsors or team leaders promptly, as making changes after production begins can be costly.
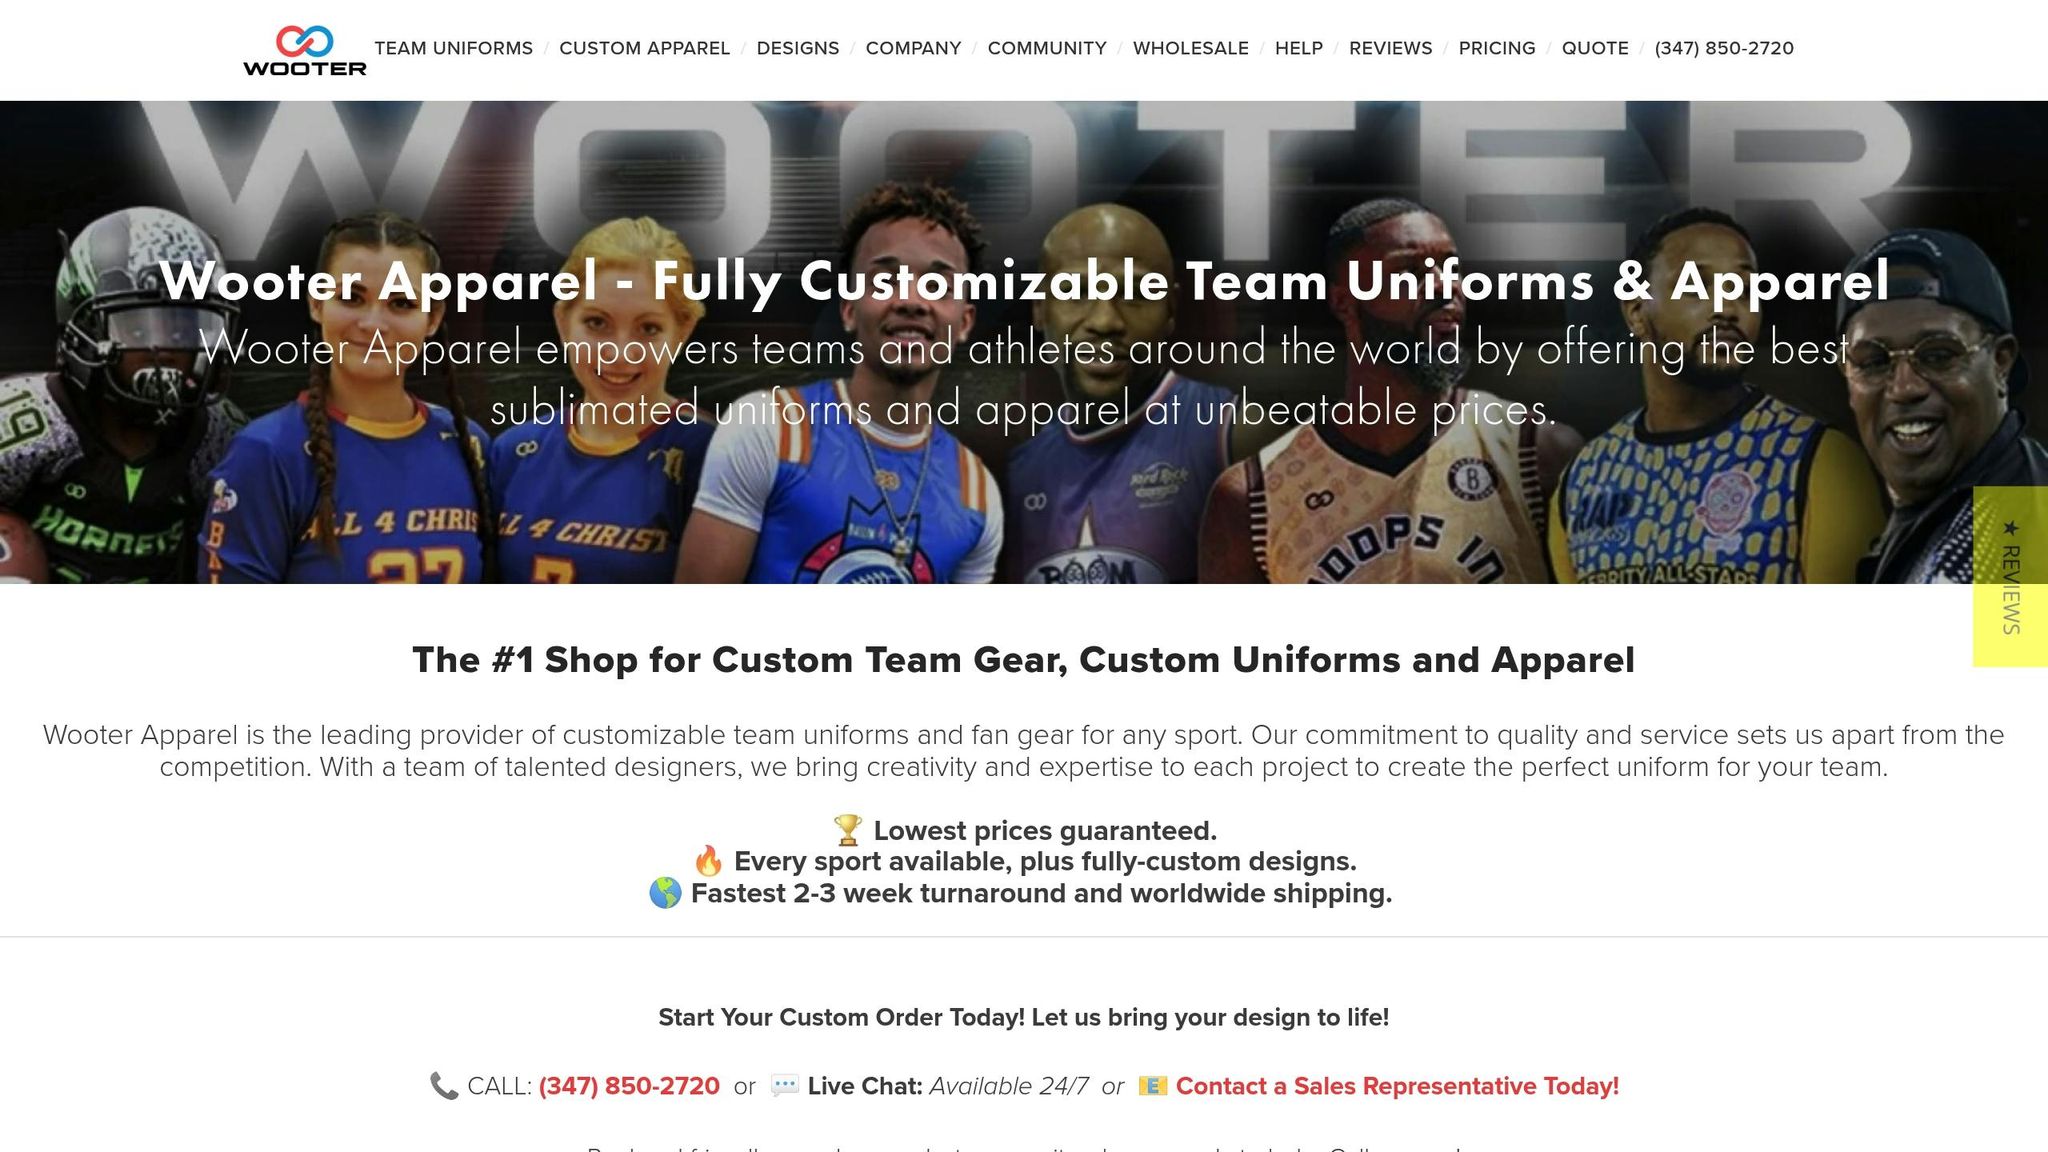
If you’re working with professional uniform providers like Wooter Apparel, their customer representatives can streamline the approval process. They’ll coordinate with sponsors and team members, provide updated mockups, and implement changes quickly.
Make sure to document all approvals in writing. With everything finalized, you can proceed to production using methods like sublimation printing, which ensures vibrant, durable logos that won’t crack or peel.
sbb-itb-4d95ad3
Production Methods and Material Options
Choosing the right production methods and materials is key to ensuring sponsor logos stay vibrant and professional-looking throughout the season. The way jerseys are produced directly affects how well these logos hold up over time.
Sublimation Printing for Logo Integration
Sublimation printing stands out as the go-to method for adding multiple sponsor logos to team jerseys. This technique uses heat to embed dye directly into the fabric, making the logos an integral part of the jersey rather than sitting on the surface like traditional printing methods.
Here’s why sublimation is a game-changer: it holds up for 50+ washes without noticeable fading, compared to just 20–30 washes for screen printing. It also allows for intricate, full-color designs with gradients and fine details that other methods can’t achieve. This ensures logos stay sharp and visually appealing throughout the season.
Another advantage? Sublimation doesn’t add bulk or stiffness to the jersey. Logos move naturally with the fabric, so even with multiple sponsors, players stay comfortable on the field.
| Printing Method | Durability (Washes) | Color Quality | Comfort |
|---|---|---|---|
| Sublimation | 50+ | Excellent | High |
| Screen Printing | 20-30 | Good | Medium |
Of course, the fabric itself plays a crucial role in supporting these high-quality printing methods.
Selecting Quality Jersey Materials
Using premium, moisture-wicking polyester blends ensures logos look sharp and last. That’s why over 90% of professional and collegiate sports teams rely on these materials. The fabric choice directly affects the clarity, durability, and overall appearance of sponsor logos.
Heavier, tightly woven polyester fabrics are ideal for sublimation. They offer a smooth surface that produces crisp, vibrant logos and prevents dye from bleeding or spreading. While lighter fabrics may improve breathability, they can sometimes distort or show through under intense printing processes, which may compromise the look of the logos.
High-quality materials also contribute to the overall durability of the jersey. Premium polyester blends keep their shape and color even after repeated washes and the wear-and-tear of gameplay. This ensures that sponsor logos remain properly aligned and vibrant, avoiding the warping or fading that can occur with lower-quality materials.
The moisture-wicking properties of these fabrics not only enhance player comfort but also protect the jerseys from damage caused by sweat and frequent washing. This dual benefit safeguards both player performance and the long-term visibility of sponsor logos.
For teams planning to reuse jerseys across multiple seasons, investing in premium materials adds about $5 to $10 per jersey. While this increases upfront costs, it pays off by extending the life of the jerseys and maintaining the quality of sponsor logos.
With the right production methods and materials in place, Wooter Apparel takes it a step further by offering expert custom logo services.
How Wooter Apparel Handles Custom Logo Work
Wooter Apparel specializes in sublimated uniforms designed to handle multiple sponsor logos effortlessly. By combining advanced sublimation techniques with premium fabrics, they consistently meet the high standards set by sponsors.
Their free custom design services simplify the process by working directly with teams to optimize logo placement and ensure each logo adheres to brand guidelines. This eliminates the back-and-forth often associated with managing multiple sponsor logos.
"Our high quality sublimated uniforms are made to last so your players can look and feel their best", says Wooter Apparel.
The company’s reputation speaks for itself, with over 2,000 five-star reviews. Customers frequently highlight the durability and quality of Wooter’s uniforms:
"The uniforms are very well made and of great quality", shares Jason P.. Julie B. adds, "Our new custom uniforms are absolutely beautiful! Great material."
Wooter’s production team is experienced in handling complex sponsor requirements, working with high-profile clients like Mr. Beast, Floyd Mayweather, and Coca-Cola. They’re adept at meeting tight deadlines while maintaining impeccable quality.
Their focus on sublimated apparel ensures that sponsor logos are seamlessly integrated into the fabric, maintaining their appearance throughout the season. Wooter’s streamlined process includes managing approvals with multiple sponsors, implementing design changes quickly, and delivering consistent quality – even for large orders. This efficiency makes them a trusted partner for teams and sponsors alike.
Common Problems and How to Fix Them
Even with meticulous planning, integrating multiple sponsor logos often comes with its share of challenges. These issues can slow production, upset sponsors, and result in uniforms that look less than professional. Knowing what to watch out for – and how to address it – can make the entire process smoother, from initial design to final delivery.
Mistakes to Avoid
One of the most common issues is receiving low-quality logo files from sponsors. While these files might look fine on a screen, they often don’t hold up during production. For example, JPEG files pulled from websites can appear pixelated when printed, and logos with a resolution of just 72 DPI lack the sharpness needed for clear, crisp printing. The result? Blurry, unprofessional-looking uniforms that reflect poorly on both the team and the sponsor.
Another frequent mistake is overcrowding jerseys with too many logos. Trying to cram six or more sponsor logos onto a single jersey can make it look cluttered and chaotic, rather than sleek and athletic. This not only diminishes the impact of each logo but also undermines the professional appearance of the uniform.
Poor color contrast is another issue that often gets overlooked. When logos don’t stand out against the jersey background, they can become hard to see – especially from a distance. This problem is sometimes missed during digital design reviews, only to become glaringly obvious once the jerseys are produced.
Neglecting league regulations can lead to costly redesigns and delays. Sports associations often have strict rules about logo placement, size, and the number of sponsors allowed. Teams that fail to research these guidelines risk ending up with uniforms that can’t be used in official games.
Finally, inconsistent logo sizing can create an unbalanced look. When one sponsor’s logo is noticeably larger than the others, it can give the impression of favoritism, potentially straining relationships with other sponsors. This often happens when teams skip setting clear sizing guidelines from the outset.
Fixing Design Problems
If a sponsor provides a low-quality logo file, ask them to contact their original designer or marketing agency for a better version. While this step might take extra time, it ensures the final product looks polished and professional.
To maintain a clean, balanced design, limit the total number of logos on a jersey. A good rule of thumb is to stick to three to four logos at most. If you have more sponsors than space allows, consider rotating logos between home and away jerseys or featuring some sponsors on warmup gear instead of game-day uniforms.
Use digital previews to catch spacing and contrast issues early. This can save time and prevent costly mistakes during production.
Document all design decisions and get written approvals from both sponsors and team management. Having a clear record of what was agreed upon protects against last-minute disputes or unexpected changes.
Finally, build extra time into your production schedule for revisions. Even the best-managed projects often require minor tweaks. Planning for these adjustments prevents rushed decisions and avoids expensive expedited production changes.
Working with Sponsors and Design Teams
Once you’ve addressed technical design issues, the focus shifts to clear and effective communication with sponsors. Ensuring a smooth collaboration requires both technical accuracy and proactive engagement.
Start by setting clear communication protocols and documenting every decision. Provide sponsors with detailed guidelines that outline logo file requirements, placement options, and timeline expectations. Miscommunication is often the root cause of integration problems, so clarity here is essential.
Be upfront about the constraints of jersey design. Explaining how limited space works – and why certain positions are more prominent (and often come with a higher price tag) – helps sponsors understand the process and collaborate on workable solutions.
When conflicts arise, offer practical alternatives. For example, if a sponsor insists on a larger logo that disrupts the agreed-upon design, suggest premium placement on warmup gear or a more prominent spot on away uniforms instead.
Partnering with experienced uniform providers can also make a big difference. These professionals understand the nuances of both production and sponsor dynamics, minimizing complications. As one customer shared:
"The design team took my thoughts and created several perfect options for our swim team, using our logo created by one of our swimmers." – Tammy S., Customer Representative, Wooter Apparel
Key Points for Adding Sponsor Logos to Jerseys
Adding multiple sponsor logos to jerseys is no easy task – it requires a careful balance of visibility, professionalism, and compliance. The first step? Understand the specific rules of your sport or league. Regulations often dictate logo size, placement, and the number of logos allowed, so make sure you’re clear on these details before production begins.
Maintaining high-quality standards is equally important. Use vector-format logos to ensure crisp designs, and establish clear sizing guidelines to keep the layout balanced. This way, every sponsor gets the visibility they deserve without the jersey looking cluttered.
Where you place the logos matters just as much as how they look. Typically, primary sponsors take the spotlight on the front chest, while secondary sponsors are positioned on areas like the sleeves, shoulders, or back panels. Thoughtful placement not only enhances the jersey’s appearance but also reinforces the team’s professional image.
The production method you choose can make or break the final product. Sublimation printing is a top choice for integrating multiple logos seamlessly, offering vibrant and long-lasting results. For warmup gear or short-term partnerships, embroidery or silkscreen techniques are solid alternatives.
Once production is underway, clear communication with sponsors is critical. Working with experienced uniform providers can simplify the process. Design professionals understand the technical challenges of multi-logo integration while respecting sponsor expectations. As Tammy S., a customer representative for Wooter Apparel, shared:
"The design team took my thoughts and created several perfect options for our swim team, using our logo created by one of our swimmers." – Tammy S., Customer Representative
To avoid mistakes, always get written sponsor approval and allow enough time for revisions. Proper documentation ensures everyone is on the same page.
Lastly, think about your long-term strategy. If you have more sponsors than jersey space, consider rotating logos between home and away uniforms or featuring some on warmup gear. This approach keeps game-day uniforms clean while still giving every sponsor valuable exposure.
When done right, multi-sponsor jerseys can boost team funding and showcase a polished, professional image. It all comes down to meticulous planning, precise design, and open communication.
FAQs
How can I add multiple sponsor logos to jerseys while following league rules and keeping the design professional?
To make sure your jerseys meet league regulations while still looking sharp, start by carefully reviewing your league’s rules for sponsor logos. These guidelines typically cover details like logo size, placement, and how many logos you can include.
When designing the jerseys, aim for a clean and balanced layout that avoids a cluttered look. Place logos strategically – on the chest, sleeves, or back – to keep them clear of player numbers and team branding. Stick to coordinated color schemes and use high-quality printing techniques, like sublimation, to achieve a polished and durable finish.
If you want professional assistance, Wooter Apparel can help. They specialize in custom team uniforms with fully sublimated designs that can incorporate multiple sponsor logos effortlessly. Plus, they offer free custom design services tailored to your specific needs, ensuring your jerseys meet league requirements and look great on the field.
How can I work with sponsors to get high-quality logo files and avoid last-minute design changes?
To make collaboration with sponsors seamless, it’s important to request high-resolution logo files early on. Ideal formats include vector files like AI, EPS, or PDF, as they retain their quality regardless of resizing. If available, ask for logos with transparent backgrounds to simplify the design process.
Set clear deadlines and share a draft of the jersey design with sponsors for their review and approval before moving forward. This step minimizes last-minute surprises and ensures everyone agrees on the final design. Keeping communication open and managing expectations upfront can save time and prevent unnecessary stress during production.
Why is sublimation printing ideal for adding multiple sponsor logos to jerseys, and how does it ensure durability and vibrant colors?
Sublimation printing is a great option for adding multiple sponsor logos to jerseys because it embeds the ink directly into the fabric. This process creates a smooth, durable design that won’t peel, crack, or fade, even after countless washes or intense wear and tear.
It also produces bold, high-quality colors that stay vibrant, making it ideal for detailed logos or complex designs. With sublimation, jerseys not only look sleek and professional but are also built to handle the rigors of the game without compromising on appearance.