
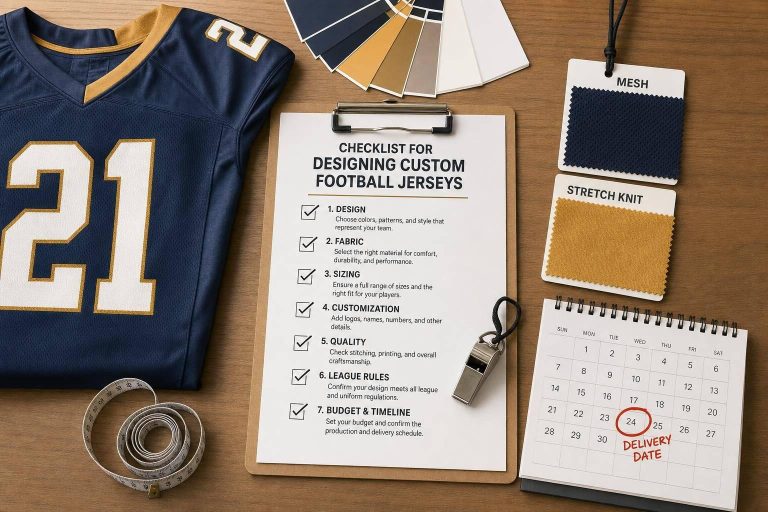
If I want custom football jerseys done right, I need to lock down five things before ordering: team look, league rules, fit over pads, number readability, and delivery timing. Most orders take 10–15 business days plus shipping, so I should start 4–5 weeks before the first game.
Here’s the short version:
- I pick team colors, logo use, and style first
- I confirm league rules for numbers, patches, and home/away sets
- I choose durable polyester fabric and check fit with pads on
- I make sure names and numbers are easy to read from a distance
- I review mockups, roster details, sizes, budget, and ship dates before approval
A few specs matter right away:
- Adult front numbers are often 8–10 inches
- Youth front numbers are often 6–8 inches
- Sleeve or shoulder numbers are often about 4 inches
- Chest logos often fit best around 3–4.5 inches wide
- Pad fit may need 2–4 extra inches in chest room
Here’s a quick view of what I’m checking before production:
| Area | What I need to confirm |
|---|---|
| Team setup | Name, mascot, logo, colors, visual direction |
| Rules | Number size, sponsor placement, roster count, home/away needs |
| Build | Polyester mesh, reinforced seams, shoulder wear areas |
| Fit | Measurements with pads, position-based cut, practice sample |
| Readability | Bold fonts, strong contrast, clean outlines |
| Layout | Logo, name, front/back numbers, sleeve details |
| Final approval | Spelling, sizes, quantities, budget, shipping timeline |
In other words: this checklist helps me avoid the stuff that turns into delays, reorders, or hard-to-read jerseys on game day.
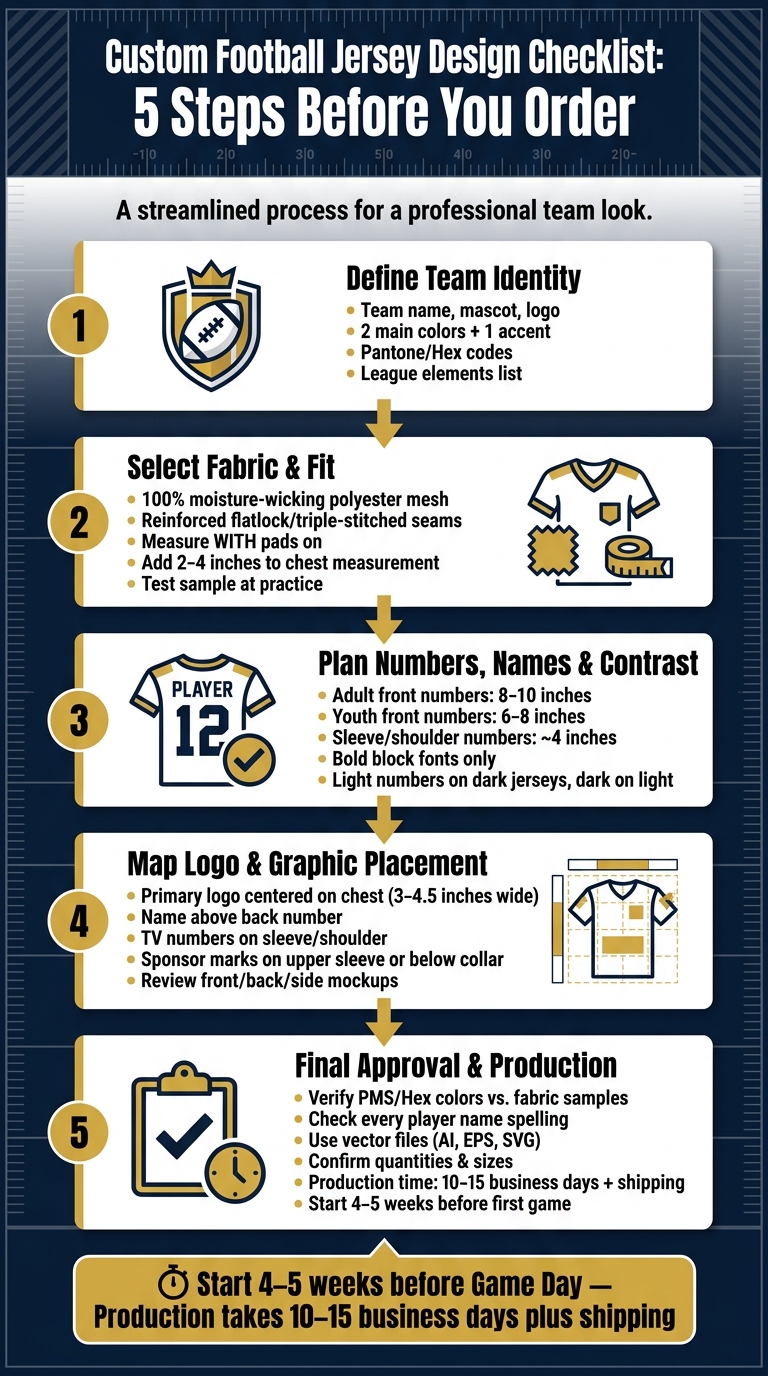
Custom Football Jersey Design Checklist: 5 Steps Before You Order
Designing Football Jerseys from SIMPLE to INSANE
sbb-itb-4d95ad3
1. Define Team Identity and Jersey Requirements
Before you start designing, lock in the basics. Confirm your team name, mascot, and any current logos first. Those pieces shape the whole jersey.
Choose Colors, Style, and Visual Direction
Pick your color palette early. A simple setup works best: two main colors and one accent color. That keeps the jersey clean and helps cut down on visual clutter.
Once you choose your colors, give your designer the exact Pantone (PMS) or Hex codes. Skip vague labels like “dark blue” or “bright red.” Use PMS or Hex codes so there’s no guesswork.
Color contrast matters too. Numbers need to stay easy to read from across the field or court. Pairings like black and white or navy and gold tend to hold up well under stadium lights.
After that, spell out every item that needs to appear on the jersey before anyone starts on mockups.
List Required Team and League Elements
Write down every graphic element you need up front. That usually includes:
- Primary team logo
- Wordmark
- Player names
- Numbers
- League insignia
- Sponsor patches
For chest branding, size matters. Primary chest logos tend to work best at 3 to 4.5 inches wide. Go much bigger, and the design can start fighting for space with the numbers.
You’ll also want to check league rules before the design process begins. Most adult leagues call for front numbers that are at least 8 to 10 inches tall, while youth leagues often allow 6 to 8 inches. "TV numbers" on the upper sleeve or shoulder are usually about 4 inches tall so referees can spot players more easily.
It’s also smart to check for rules on:
- Number ranges by position
- Sponsor mark placement
- Home and away jersey requirements
Last piece: confirm your roster count early. That small admin step can save you from pricey reorders or production slowdowns later.
With your identity and requirements nailed down, the next step is fabric and fit.
2. Select Fabric, Construction, and Fit
Pick Materials for Durability and Comfort
Fabric choice shapes how the jersey feels, how long it lasts, and how well it handles heat. For the main body, go with 100% moisture-wicking polyester mesh.
Construction matters just as much. Use multi-panel construction with heavier double-layered dazzle or spandex at the shoulders and collar/upper shoulder area. That’s where pads create the most friction, so this part takes a beating. Reinforce seams at the underarms, side panels, and armholes with flatlock or triple-stitched construction to help stop torn seams during contact. For graphics, use dye-sublimation so graphics stay flexible and durable. In short, the build should match the spots that take the most wear, along with the print method.
| Component | Recommended Material | Key Performance Feature |
|---|---|---|
| Jersey Body | 100% Moisture-Wicking Polyester Mesh | Maximum breathability and cooling |
| Shoulders & Collar/Upper Shoulder | Heavier Double-Layered Dazzle or Spandex | Durability against shoulder pad friction |
| Seams | Reinforced Flatlock or Triple-Stitched | Prevents torn seams during heavy contact |
| Sleeves | Elastic Cuffs or Cropped Sleeves | Helps keep loose fabric from getting grabbed |
Confirm Fit With Pads and Movement in Mind
Even the best material won’t help if the jersey doesn’t move the right way over pads. A proper fit helps prevent restricted movement and seam failure during contact.
Always measure while wearing pads. Add 2 to 4 inches to the chest measurement to account for the space shoulder pads take up. A jersey can seem fine off the field, then feel tight or start pulling at the seams once full pads are on.
The cut should match the position. Skill players usually need a snugger fit. Linemen usually need more room.
Before you approve the full order, test a sample during an actual practice. Problems that don’t show up when a player is just standing there tend to show up fast during sprinting and tackling.
After fit is approved, map numbers, names, and contrast.
3. Plan Numbers, Names, and Color Contrast
Set Number and Name Standards
Once the jersey fits over pads, the next job is clear player ID. With the fabric and fit approved, lock in the markings that let each player stand out at a glance.
Use 8–10 inch adult front numbers, 6–8 inch youth numbers, and about 4 inch secondary numbers on the sleeve or shoulder. Place the front numbers between the collar and hem, and double-check every player name and number before production.
Stick with bold block fonts. Skip script, thin serifs, and ornate lettering. They may look nice on a mockup, but on the field they can be hard to read fast.
Check Contrast and Font Readability
Pair light numbers with dark jerseys and dark numbers with light jerseys. Keep jersey graphics under control so the numbers stay easy to read. If the numbers get lost in the design, the whole thing falls apart.
Use one outline only for clarity. More outline layers increase the chance of misalignment and make the numbers harder to read.
After readability is locked in, place the logos and graphics. Next, map logo and graphic placement.
4. Map Logo and Graphic Placement
Place Logos, Numbers, and Names in a Clear Order
Once the sizes are approved, set the exact placement. The goal is simple: keep the jersey easy to read at game speed, just like in Section 3.
Put the primary team logo in the center of the chest. Keep it within the approved chest area. Place the name above the back number, and center the front number. Add TV numbers to the sleeve or shoulder.
Before you approve anything, review front, back, and side mockups. Look closely at side panels, shoulder seams, and pad zones to catch any layout breaks.
After the main layout is locked, add secondary marks last.
Review Sponsor and Optional Mark Placement
Secondary marks should support the main design, not fight for attention. Put sponsor logos, league insignia, and other secondary marks on the upper sleeve or just below the collar.
If a sponsor or memorial mark is small, simplify it before production. And don’t stack multiple elements on the chest.
Stick to one placement plan for secondary marks:
- sleeve
- shoulder
- below the collar
5. Final Quality Check and Production Approval
Inspect Mockups, Spelling, and Construction Details
After colors, fit, numbers, and placement are locked, do one last production check.
Review the front and back mockups before anything goes into production. This is your last chance to catch issues early. Look at both views and make sure stripes, panels, and trim stay consistent across the whole jersey. Double-check colors against your approved PMS or Hex codes and fabric samples. What looks right on a screen can print differently, and stadium lighting can change how colors appear.
Then go line by line through the roster details. Check every player name for spelling, and make sure each name and number matches the final roster. For artwork, use vector files like AI, EPS, or SVG so lines and edges stay sharp.
On the build side, inspect seam placement and reinforcement in high-stress areas. Also confirm that mesh panels, ergonomic cuts, and other performance details will still work with pads. The jersey should allow free movement, with 4-way stretch through the shoulders and hips. Make sure team logos, sponsor marks, and league-required elements are placed and aligned exactly where they should be. When you’re done, send one combined revision list for final sign-off.
Approve Order Quantities, Budget, and Delivery Timing
Once the proof is approved, lock the quantities and delivery schedule.
Wait until tryouts are done and the final roster is approved before you set quantities. Confirm your full player count, then check that every size and quantity is included before production starts. The simplest way to do this is with one roster sheet that lists names, numbers, and sizes.
For timing, plan on 10–15 business days plus shipping. Start with your first game date and work backward. Add at least one extra week as a buffer in case something slips. On cost, lock your full budget by accounting for fabric quality, number of colors in the design, print method, and order volume. Bigger orders usually bring the per-unit price down.
"Approval is the point where your order moves forward confidently. If you have a deadline, approvals are the biggest lever you control."
Conclusion: Use This Checklist Before You Place the Order
Use this checklist to catch mistakes before you place the order.
FAQs
How do I choose the right jersey size for each player?
First, lock in the jersey style. Then measure each player in inches with a measuring tape. Write down chest, waist, hips, shoulder width, sleeve length, inseam, and height.
After that, match those numbers to the product sizing chart instead of guessing based on retail size. If you want to be extra careful, Wooter Apparel also offers refundable sizing kits for $125, so players can try sample sizes before you place a bulk order.
What artwork files should I send for logos and graphics?
For the best print quality, send vector files in .ai, .eps, or .svg format. These file types scale up or down without losing sharpness.
If you need to use raster images, send PNG files with transparent backgrounds at 300 DPI. Also share exact color codes, such as Pantone, RGB, or CMYK, so team colors stay consistent.
What should I do if my roster changes after ordering?
Plan ahead and order a small buffer of extra uniforms in common sizes. That gives you a little breathing room for new players or mid-season additions, instead of scrambling later. If something needs to change, contact Wooter Apparel to talk through possible adjustments.
It also helps to keep a record of your original design specs, including font styles and measurements. That way, reordering later is much simpler and far less of a headache.
When your uniforms arrive, inspect them right away. If anything looks off or you need more updates, reach out as soon as possible.